search
NOTE: We have renamed this feature from Permission Requests to Document Access Requests based on user feedback.
At the start of the school year, managing caseloads can feel overwhelming – building your caseload, making sure documents reach the right users, and keeping everything organized takes coordination. Fortunately, SameGoal has several tools we want to highlight that are designed to streamline caseload management, ensuring you get off to a great start:
Whether you want to update the collaborative team on documents you own or build up your caseload and students lists at the beginning of the year, SameGoal makes it very easy to perform actions in bulk.
If you would like to invite other users to collaborate on your documents, you can bulk share documents. If you were the caseload manager for documents last year, but this year a different staff member will be responsible for some of those documents, you can transfer document ownership in bulk.
However, it’s important to remember that when you are updating the collaborative team for several documents at once, any changes to permissions will be applied to each of the selected documents. This means that you can only transfer ownership to one other user at a time. Be sure to keep this in mind when you are selecting documents to bulk share.
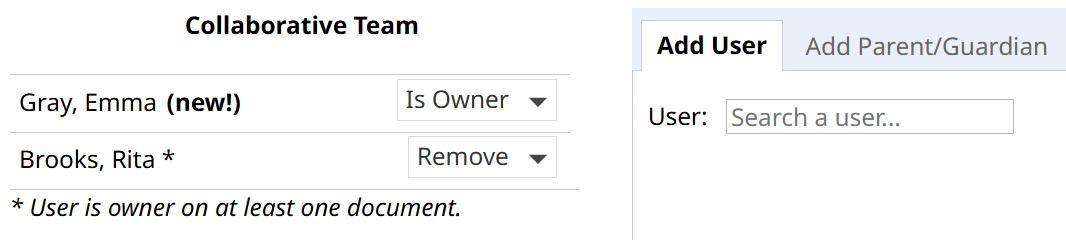
When you are finished, the other users will receive a notification letting them know you’ve updated their permissions for a set of documents. Additionally, these permission changes will be tracked in each document’s document history panel.
Similarly, you can add/remove several documents to/from your caseload at once by bulk starring or unstarring them. Documents will be added to your caseload automatically when they are shared with you and they will be removed from your caseload automatically if you are removed from the collaborative team, but you can also do this manually. For example, if there are documents on your caseload that are leftover from last year, you can unstar them to remove them.
When a document is added to your caseload, if the student wasn’t already on it, they will be added to your My Students list. Conversely, if you remove a document from your caseload and a student no longer has any documents starred to your caseload, they will be removed from your My Students list.
You can send document access requests to document owners. If you already have some level of access to a document, you can request a higher level of access (if your user role supports a higher level of access). For example, if you can currently view a document, but would like to be able to edit it, you can request Can Edit access.
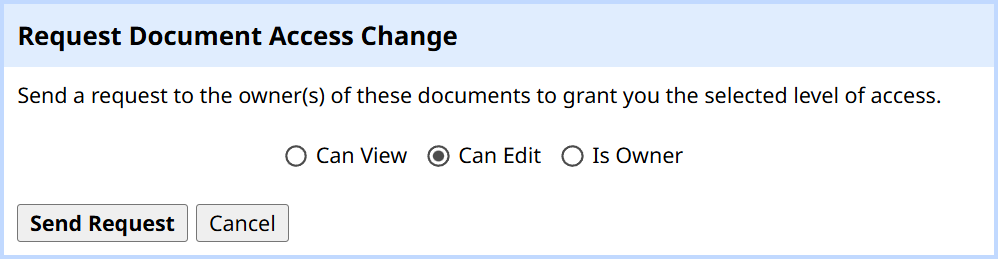
Once the request has been sent, the document owner(s) will receive a notification to review your request and either approve or deny it.
You can also request access to documents on a per-student basis. This is helpful for documents you have no access to because these documents will not appear on document list pages. Even if you don’t know whether a student has documentation, you can send a document access request for specific form types, and if the student has currently effective documents of the given form types, a request will be sent to the document owner(s).
For example, if you work on the Section 504 team at the high school and you’re not sure which of the new students have Section 504 documentation, you can search for the new students and send a request to have access to their Section 504 documents.
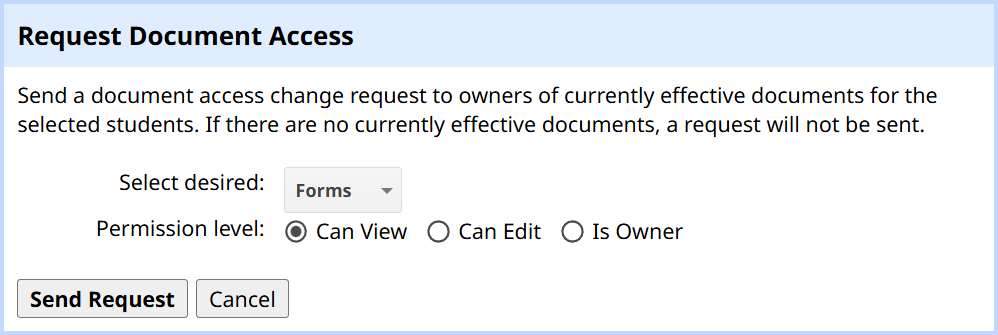
When requesting document access on a per-student basis, a request will only be sent if any of the selected students have currently effective documents of the selected form types.
If a user requests access to one or more of the documents you own, you will receive a notification depending on how you've configured your notification preferences. If you follow the notification, you will be brought to a page where you can review the request. After reviewing the request, you can make a decision about which documents you would like to approve the request for.
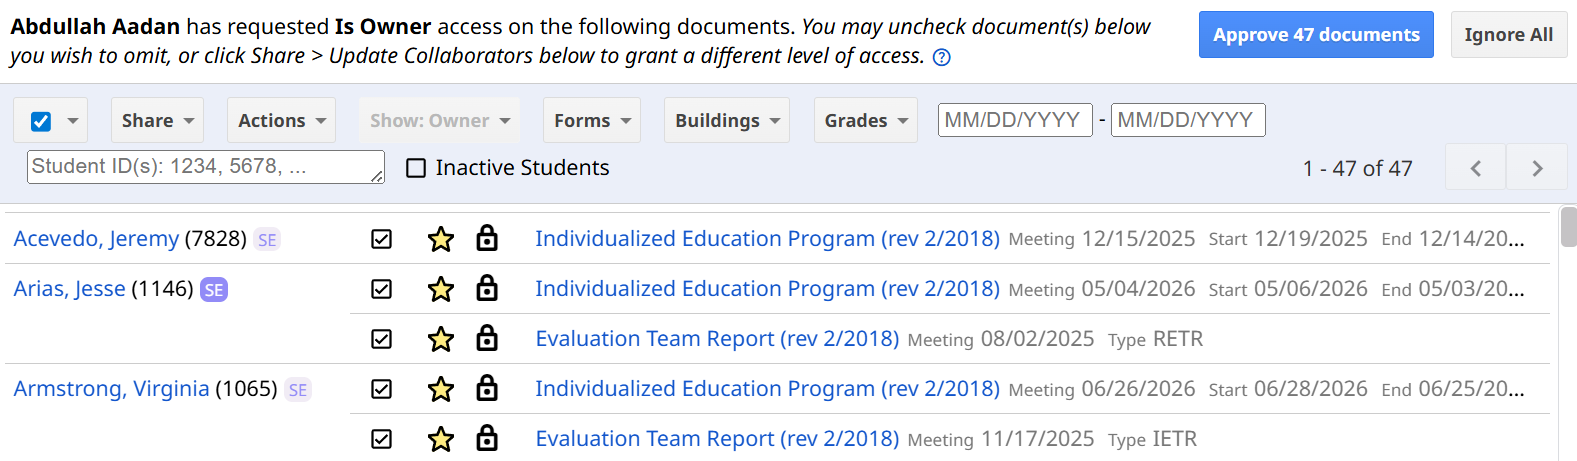
If you approve a document access request, the user will be granted whichever level of access they requested. However, you can also grant them a lower or higher level of access (if their user role supports a higher level of access) than they requested.
Once you click OK in the Update Collaborators popup or Approve ## documents on the review page, document access will be updated automatically for the user who made the request.
In some cases, you may lose access to documents you are listed as the owner of. This can happen if your user role permissions are updated or if a student your documents were associated with moved to a new building where you do not have permissions.
In these cases, you will no longer be able to view or edit a document, but you will still be able to share the document in order to transfer ownership over to someone else. When you lose access to documents you own, you can still see them on document list pages, but if you try to click into one, you will be redirected to the Update Collaborators activity. You can also choose to search for these documents and share them in bulk.
For example, if you work at the middle school but some of your students are now at the high school, you can search for documents you own at the high school and transfer the documents to a caseload manager who works at the high school.

Once you transfer ownership of these documents, they will not appear on document list pages anymore since you previously lost access to them and you will no longer have retained ownership.
When users at a district have questions about caseload management, admin users can be a great resource for them! Admin users can help non-admin users own their own caseload management by helping to explain how SameGoal caseload management tools work or even by providing staff with a list of new caseload managers and associated students, so staff know which users they should transfer their documents to.
While it’s ideal for users to perform their own caseload management tasks, admin users can also step in to help staff out. Admin users have the ability to share documents and transfer document ownership on behalf of other users.
If you are transferring document ownership for a user who has left the district, be sure to transfer their caseload before deleting their user account. If a user account has been deleted, you will no longer be able to see their caseload. In this case, it’s recommended to undelete the account, share documents as needed, then delete the account again.
1 Only up to 50 items will be listed on a page. If more than 50 items are returned in a search, you can click Select all ## items at the top of the screen to perform a bulk action for more than 50 items at a time.